Is that constant dripping sound driving you crazy? Are you watching your water bill creep up because of a leaky faucet? You’re not alone! A leaky faucet is one of the most common household plumbing issues that homeowners face. The good news is that many faucet repairs are DIY-friendly projects that can save you money and stop that annoying drip for good.
Why Fix That Drip? The Hidden Costs of a Leaky Faucet
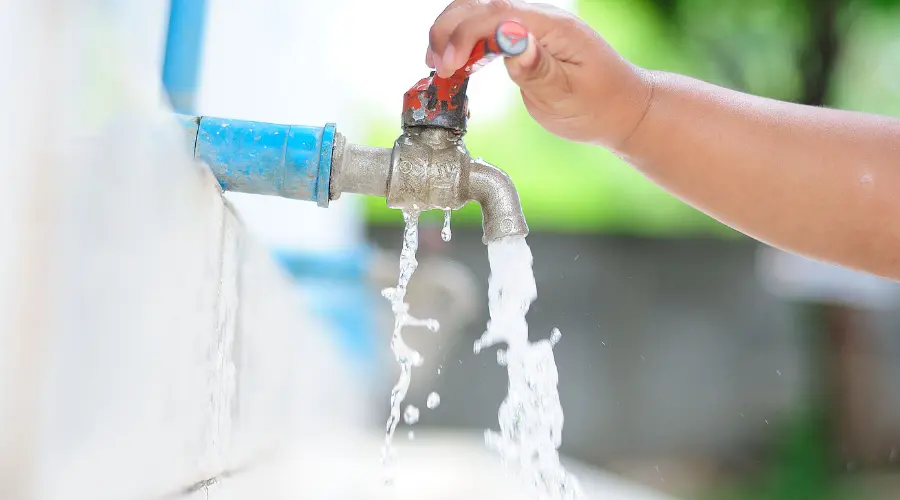
That tiny drip might seem insignificant, but did you know that a faucet leaking at just one drop per second can waste more than 3,000 gallons of water per year? That’s enough water to take over 180 showers! Beyond the environmental impact, those drops are literally money going down the drain.
A leaky faucet can:
- Increase your water bill by 10% or more
- Cause water stains in your sink or tub
- Lead to mold growth in damp areas
- Create that maddening dripping sound that keeps you up at night
- Eventually cause damage to your fixtures if left unrepaired
Let’s put an end to that drip today with this comprehensive guide to fixing your leaky faucet.
Tools You’ll Need for Faucet Repair
Before you begin, gather these essential tools and supplies:
- Adjustable wrench
- Phillips and flat-head screwdrivers
- Pliers (preferably channel-lock pliers)
- Replacement parts (O-rings, washers, or cartridges)
- Clean rags or towels
- White vinegar
- Plumber’s tape
- Allen wrench (hex key) set
- Penetrating oil (like WD-40)
- Small container to hold small parts
Pro tip: Take photos with your smartphone at each step of disassembly. This visual reference will make reassembly much easier!
Identifying Your Faucet Type: The First Step to a Successful Fix
Different faucet types require different repair approaches. Identifying which type you have is crucial for proper repair:
Compression Faucets
- Typically have separate hot and cold handles
- Turn off by compressing a rubber washer against a valve seat
- Most common in older homes
- Main cause of leaks: worn-out washers or O-rings
Ball-Type Faucets
- Usually single-handle designs
- Contain a ball bearing that controls water flow and temperature
- Common in kitchen sinks
- Main causes of leaks: worn O-rings, springs, or valve seats
Cartridge Faucets
- Can be single or double-handled
- Use a cartridge to control water flow
- Found in both kitchens and bathrooms
- Main cause of leaks: damaged cartridge or O-rings
Ceramic Disk Faucets
- Feature a single handle
- Use ceramic disks to control water flow
- Most durable and modern design
- Main cause of leaks: damaged seals or dirt in the water chambers
Step-by-Step Guide to Fix a Leaky Faucet
Preparation: Before You Start
- Turn off the water supply
- Look under the sink for the shut-off valves
- Turn them clockwise until tight
- If no shut-off valves are present, turn off your home’s main water supply
- Plug the drain
- Use a drain stopper or rag to prevent losing small parts down the drain
- Protect your fixtures
- Cover faucet finishes with a cloth when using tools to prevent scratches
Fixing a Compression Faucet
- Remove the handle
- Pry off any decorative cap
- Unscrew the handle screw and remove the handle
- Take note of how the parts fit together
- Remove the packing nut
- Use your adjustable wrench to loosen and remove the packing nut
- This will expose the stem
- Inspect and replace the washer
- Remove the stem to access the washer at the bottom
- Replace the washer if it appears worn or damaged
- Check the valve seat for damage and replace if necessary
- Reassemble the faucet
- Install the new washer
- Replace the stem and packing nut
- Reattach the handle
- Turn on the water supply and check for leaks
Fixing a Ball-Type Faucet
- Remove the handle
- Remove the set screw (usually found under a decorative cap)
- Lift off the handle and cap assembly
- Remove the cam assembly
- Use pliers to remove the cap, cam, and ball
- Replace the seals and springs
- Remove the inlet seals and springs with a small screwdriver
- Replace with new ones from a ball faucet repair kit
- Check the ball for damage and replace if needed
- Reassemble and test
- Replace the ball, cam, packing, and cap in the correct order
- Secure the handle and turn on the water to test
Fixing a Cartridge Faucet
- Remove the handle
- Look for a set screw on the side or under a decorative cap
- Remove the screw and lift off the handle
- Remove the retaining clip
- Locate and remove the retaining clip that holds the cartridge in place
- Use needle-nose pliers if necessary
- Replace the cartridge
- Pull the old cartridge straight up
- Note its orientation for correct installation of the new one
- Insert the new cartridge in the same position
- Reassemble and test
- Replace the retaining clip
- Reattach the handle
- Turn on the water supply and check for leaks
Fixing a Ceramic Disk Faucet
- Remove the handle and cap
- Remove the set screw and handle
- Unscrew the dome-shaped cap
- Remove the disk cylinder
- Unscrew the mounting screws holding the disk cylinder
- Lift out the cylinder carefully
- Clean or replace components
- Check the rubber seals for damage and replace if needed
- If the ceramic disks appear intact, clean them with white vinegar
- Rinse thoroughly after cleaning
- Reassemble and test
- Replace the cylinder, cap, and handle
- Turn on the water slowly to prevent damage to the ceramic disks
Troubleshooting Common Issues
Water Still Leaking After Repair?
- Check if all connections are tight
- Ensure replacement parts are the correct size
- Look for additional worn components you might have missed
- Confirm the water supply valves are fully open
Handle Feels Loose or Wobbly?
- Tighten the set screw
- Check for worn components in the handle assembly
- Make sure all parts are properly aligned during reassembly
Faucet Leaks Around the Base?
- This usually indicates a problem with the O-rings
- Remove the spout and replace all O-rings
- Apply plumber’s tape to threaded connections
Preventing Future Leaks
Keep your faucets in top shape with these preventive measures:
- Avoid excessive force
- Don’t overtighten your faucet handles
- Turn handles gently to prevent internal damage
- Regular maintenance
- Check for moisture under the sink periodically
- Clean aerators every few months to prevent mineral buildup
- Water quality matters
- Consider a water softener if you have hard water
- Hard water accelerates wear on faucet components
- Winter precautions
- Insulate pipes in cold weather
- Allow faucets to drip during freezing temperatures
When to Call a Professional Plumber
While many faucet repairs are DIY-friendly, certain situations call for professional help:
- You’ve tried the steps above but can’t stop the leak
- Your faucet requires special tools you don’t have
- You discover corroded or damaged pipes
- The leak is coming from multiple areas
- You’re dealing with a wall-mounted faucet
- You’re not comfortable working with plumbing
If you need professional assistance in North Bergen, don’t hesitate to call a trusted local plumber at (201) 389-9959.
Final Thoughts: The Value of DIY Plumbing Skills
Learning to fix a leaky faucet is more than just a one-time repair—it’s an investment in your home maintenance skills. By tackling this common household issue yourself, you’ll:
- Save money on service calls
- Develop confidence for tackling other home repairs
- Reduce water waste and lower utility bills
- Gain satisfaction from solving the problem yourself
Remember that routine maintenance is always easier and less expensive than emergency repairs. Take pride in your newly acquired plumbing skills and enjoy that blessed silence of a drip-free faucet!
Have questions about fixing your leaky faucet or need professional plumbing help? Contact our experienced team of plumbers in North Bergen at (201) 389-9959. We’re here to help with all your plumbing needs, from simple faucet repairs to complete bathroom renovations.
Frequently Asked Questions About Leaky Faucets
What are the common causes of a leaky faucet?
The most common causes include worn-out O-rings, damaged washers, corroded valve seats, improper installation, high water pressure, and mineral deposits from hard water.
Can a leaky faucet increase my water bill?
Yes, significantly. A faucet that drips just 10 times per minute can waste over 500 gallons of water annually. More substantial leaks can waste thousands

